Advanced Grids/Leviathan
New Players: Starting Granblue Fantasy | Creating an Account | Rerolling
Beginner Missions and Draws: Sierokarte's Knickknack Academy | Skyscope | New Skyfarer Step Up Special | Beginner's Draw Set
Wiki Resources: FAQ | Recurring Tasks | Basic Grids | Advanced Grids | Glossary | Guides | Town Items | Optimizing Performance
| |||||


Overview

Seraphic Boost Weapons
As players progress the game, they will be able to replace the weapon that provides a Seraphic Boost with a better weapons. Each upgrade has its own power boosts or activation requirements, so replacing it with a weaker weapon may not yield the same results and could require team or grid adjustments.


Grid Weapons
Weapons Overview
Below is a rough overview of various weapons used in Omega grids. For more information on weapon usage, see the other tabs.
| Fundamental Pieces | ||
|---|---|---|
|
| ||
| These are core pieces to making an Omega Water grid. They form the foundation of many setups. |


| Manual Burst / Short Content | High Difficulty / Long Content | |
|---|---|---|
| These weapons can favor a certain playstyle over others. Feel free to prioritize one section over another depending on your preferred playstyle. | ||


| Contextual / Niche Pieces |
|---|
|
|
| These weapons have situational or niche applications. |


| Premium Extensions |
|---|
| Premium options and related weapons for players who want to go even deeper into Water. |


Core Grid Weapons
Weapons that form the core foundation of many setups.
| Weapon | Rank | Copies | Notes |
|---|---|---|---|
Leviathan Gaze Mare |
Rank 151 |
Avg: 3 Max: 5 |
|
Leviathan Cranium Mare |
Rank 151 |
1 - 2 |
|
Exo Antaeus |
Rank - |
1 0 - 1
|
Limited Event Weapon
|
Demonsword of Mortality Verboten |
Rank 151 |
2 - 3 |
|
Deepstrings of Mortality Verboten |
Rank 200 |
2 |
|
Fiendspear of Mortality Verboten |
Rank 200 |
Avg: 2 - 3 Max: 4 |
|
Staff of Renunciation |
Rank 120 |
- |
|
Doombringer Edge |
Rank 300 |
- |
|


Universal Weapons
Weapons that can be used across all elements.
| Weapon | Notes |
|---|---|
| Celestial Weapons |
Limited Event Weapon
|
| Ultima Weapons |
|
| World Weapons |
|


Additional Weapons
Weapons that are more commonly seen in specialized setups.
| Weapon | Rank | Copies | Notes |
|---|---|---|---|
Uraeus |
Rank 120 |
1
|
|
Schrodinger |
Rank 200 |
2 1 2
|
|
Lagrange |
Rank 200 |
1- 2 0 - 1 1 - 2
|
|
Cyclestaff of Mortality Verboten |
Rank 151 |
1 - 2 |
|
Tyros Zither |
Rank 120 |
1 - 2 |
|
Judgment of Torrential Tides |
Rank 200 |
- |
|


Filler & Niche Weapons
Weapons with situational or niche applications. Some may also function as fillers until stronger options can be obtained.
| Weapon | Rank | Copies | Notes |
|---|---|---|---|
Wamdus's Cnidocyte |
Rank 151 |
2 | |
Winter's Frostnettle |
Rank - |
- |
Limited Event Weapon
|
Ancient Auberon |
Rank 40 |
1 - 2 |
|
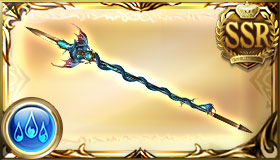
Leviathan Spear Omega |
Rank 101 |
1 |
|
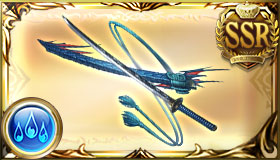
Leviathan Blade Mare |
Rank 151 |
2 |
|
Terrorbow of Mortality Verboten |
Rank 151 |
0 - 1 |
|
Reflection of The Moon |
Rank 151 |
- |
|
Wilhelm Militis |
Rank - |
1 - 2 |
|
Exo Ephialtes |
Rank - |
1 0 - 1
|
Limited Event Weapon
|
Aquamarine Hatchet |
Rank - |
- |
Limited Event Weapon
|
Glacial Militis |
Rank - |
1 |
|
Spirit of Mana |
Rank 120 |
1 |
|
Draconic Buster |
Rank 151 |
- |
|
Bahamut Weapons |
Rank 130 |
- |
|


Special Premium Draw Weapons
Premium weapons that can be useful in Omega grid setups. For Optimus grid usage, please visit Advanced Grids/Varuna.
| ⚠️ Caution! The weapons listed in this section can be used at 0★ and should not be uncapped with  until the player reaches a point in their progression to understand their value and what benefits uncapping offers. |
| Weapon | Copies | Notes |
|---|---|---|
Gospel of Water and Sky |
2 |
|


Gold Moon Weapons
 |
Warning! These weapons are very high investment weapons that cost a substantial amount of |

| Weapon | Rating | Notes |
|---|---|---|
| High |
Hraesvelgr is a unique weapon that allows MC to become a strong damage dealer. Notably, this weapon provides the following: At all levels, the weapon provides MC with:
At Lvl 150, the weapon provides the team with:
The severe hit to multiattack rate present at lvl 150 has led to a situation where players have created setups for both lvl 149 and lvl 150 Hraesvelgr. The main differences between Lvl 149 and 150 are as follows:
As the weapon leans heavily towards shorter rotations, it is usually only seen in faster Full Auto setups and for manual burst rotations and does not see heavy usage in endgame raids. | |
Shishio |
Medium |
Typically used as a main weapon for
Although the weapon deals 1% of maximum HP to all allies every turn, it is easily counteracted by the sustain provided by the weapon. Shishio is used most commonly for high difficulty raids and raid solos. |


Changelog
| Changelog |
|---|
|
2026
|


Grid Templates

It's important to adjust your grid depending on the content you wish to tackle. The grids listed below are serve a general guidelines and should be adapted to what you have available.
Many grid templates will reach 280% aura boost as that is a key break point in optimized grids. This is to activate the powerful bonuses granted by Dark Rapture Zero Pendulums (e.g. 

See #Exalto & Aura Boost for further information.
| Single Sided 280% Aura Boost Examples | ||||||||||||||||||||||||||
|---|---|---|---|---|---|---|---|---|---|---|---|---|---|---|---|---|---|---|---|---|---|---|---|---|---|---|
|



Normal Attack teams tend to be the best burst and Full Auto setups due to their speed. However, compared to Skill or Charge Attack damage, Normal Attacks require more grid investment to reach high damage.
Normal Attack setups leverage the strong synergy between modifiers like Bonus DMG (Echoes), Supplemental Damage, Flurry, and Multistrike.


AmplifyStacking: Special normal attack DMG by 10%.
(Activates when any of Water Omega, Water Taboo, or Water Optimus weapon skills have a boost of 280% or above.)


20% Bonus Destruction DMG effect.
10% Bonus Destruction C.A. DMG effect.

(Activates when either Water Omega or Water Optimus weapon skills have a boost of 280% or above.)


Leviathan Spear Omega
for single-sided setups

AmplifyStacking: Special normal attack DMG by 10%.
(Activates when any of Water Omega, Water Taboo, or Water Optimus weapon skills have a boost of 280% or above.)
20% Bonus Destruction DMG effect.
10% Bonus Destruction C.A. DMG effect.
(Activates when either Water Omega or Water Optimus weapon skills have a boost of 280% or above.)


AmplifyStacking: Special normal attack DMG by 10%.
(Activates when any of Water Omega, Water Taboo, or Water Optimus weapon skills have a boost of 280% or above.)
20% Bonus Destruction DMG effect.
10% Bonus Destruction C.A. DMG effect.
(Activates when either Water Omega or Water Optimus weapon skills have a boost of 280% or above.)


0★ Gospel of Water and Sky
0★ Gospel of Water and Sky
Skill damage usually plays a supplementary role in Normal Attack and Charge Attack setups rather than being a team's sole focus. As a result, skill damage boosting weapons are often used alongside N.A. and C.A. weapons.


AmplifyStacking: Special skill DMG by 10%.
(Activates when any of Water Omega, Water Taboo, or Water Optimus weapon skills have a boost of 280% or above.)
20% Bonus Destruction DMG effect.
10% Bonus Destruction C.A. DMG effect.
(Activates when either Water Omega or Water Optimus weapon skills have a boost of 280% or above.)
Due to the limited availability of Odious boosts, setups that use Odious weapons prefer to use their respective Odious summons as both main and support summon. These summons also require copies of Odious weapons in the grid to be fully exorcised to achieve the maximum aura boost percent. Careful consideration is needed when choosing which Befoulments to keep.
Charge Attack setups focus on high damage per turn and often outperform Normal Attack setups in this regard. Additionaly, at a lower grid investment, Charge Attack teams still perform well, unlike Normal Attack setups. However, they are slower in Full Auto due to longer animations and in manual setups, Lockout is a concern.
Charge Attack teams are commonly used in high difficulty raids where consistency matters more than speed.


AmplifyStacking: Special skill DMG by 10%.
(Activates when any of Water Omega, Water Taboo, or Water Optimus weapon skills have a boost of 280% or above.)
20% Bonus Destruction DMG effect.
10% Bonus Destruction C.A. DMG effect.

(Activates when either Water Omega or Water Optimus weapon skills have a boost of 280% or above.)
20% Bonus Destruction DMG effect.
10% Bonus Destruction C.A. DMG effect.
(Activates when either Water Omega or Water Optimus weapon skills have a boost of 280% or above.)
AmplifyStacking: Special skill DMG by 10%.
(Activates when any of Water Omega, Water Taboo, or Water Optimus weapon skills have a boost of 280% or above.)
Building a Burst Setup

Core Concepts
When constructing a normal attack burst team, the folllowing effects should be prioritized:
- Sources of

- Sources of

and/or
- Sources of Instant Attack and/or

Multistrike - Sources of other normal attack related buffs such as

Assassin (Buff) and
- Characters that deal skill damage after normal attacks


With these things in mind, below is a teambuilding example to help you get started!
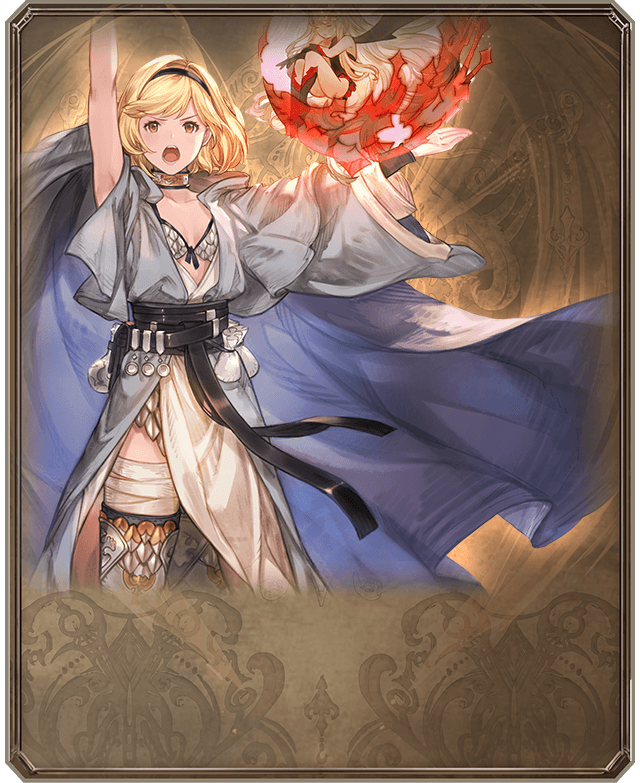
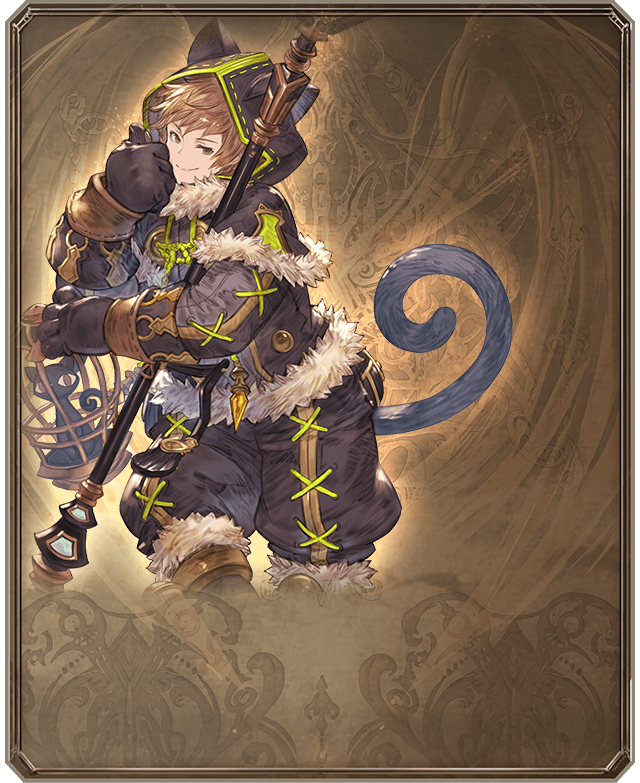
Class / Character Selection






Example Grid & Summon Selection
Since the example team built so far deals a lot of normal attack and skill damage, we want our grid to ideally support both of these damage types.
Below are some templates that can help you get started but be sure to experiment and find what works for you!





Ouroboros Mino
Skill
When MC has 1 or more Crests of their element:
6-hit, 100% Elemental damage to all foes (Damage cap: 111,250 per hit).
Inflict

Strength: 10% (Max: 30%)Duration: 180 seconds.
(Consumes 30% of charge bar.)
Support
30,000 + 5,000 Supplemental Damage to all allies based on their number of Crests of their element (Max: 55,000).


All allies gain

Strength: 20%Duration: 3 turns,

Strength: 30%, and 1 Elemental Crest

Duration: Indefinite

Duration: Indefinite

Duration: Indefinite

Duration: Indefinite

Duration: Indefinite

Duration: Indefinite.
(Crest gained based on caster's element.) Secret Triad

(Consumes up to 50% of current HP.) Splitting Spirit


 |
 |
 |
||||||
  |
| |||||||
 |
 |
This is set as a Quick Summon | ||||||
|
| |||||||
 |
 |
|||||||
 |
|
| ||||||
 |
  | |
|---|---|
| Turn 1 |
|

Ouroboros Mino
Skill
When MC has 1 or more Crests of their element:
6-hit, 100% Elemental damage to all foes (Damage cap: 111,250 per hit).
Inflict
Strength: 10% (Max: 30%)Duration: 180 seconds.
(Consumes 30% of charge bar.)
Support
30,000 + 5,000 Supplemental Damage to all allies based on their number of Crests of their element (Max: 55,000).

All allies gain
Strength: 20%Duration: 3 turns,
Strength: 30%, and 1 Elemental Crest
Duration: Indefinite
Duration: Indefinite
Duration: Indefinite
Duration: Indefinite
Duration: Indefinite
Duration: Indefinite.
(Crest gained based on caster's element.) Secret Triad
(Consumes up to 50% of current HP.) Splitting Spirit
|
|
|
||||||
|
| |||||||
|
 |
|||||||
|
 | |||||||
|
|
|||||||
|
|
| ||||||
 |
This is set as a Quick Summon |
| |
|---|---|
| Turn 1 |
|


Agastia Simulacrum
Skill
100% Elemental damage to a foe (Damage cap: 170,000).
Gain

Strength: 10% (Max: 50%)Multiplier: Unique StackableDuration: Indefinite,

Strength: 10% (Max: 50%)Duration: Indefinite,

Strength: 10% (Max: 50%)Duration: Indefinite, and

Strength: 4% (Max: 20%)Duration: Indefinite.
Support
9% boost to C.A. damage (Max: 90%) and 3% boost to C.A. damage cap (Max: 30%) for MC based on MC's number of buffs.
When MC has 12 or more buffs:
10-hit Elemental damage to random foes (Damage cap: 111,250 per hit) upon using charge attack.

All allies gain
Strength: 20%Duration: 3 turns,
Strength: 30%, and 1 Elemental Crest
Duration: Indefinite
Duration: Indefinite
Duration: Indefinite
Duration: Indefinite
Duration: Indefinite
Duration: Indefinite.
(Crest gained based on caster's element.) Secret Triad
(Consumes up to 50% of current HP.) Splitting Spirit
|
|
|
||||||
|
| |||||||
|
|
|||||||
|
| |||||||
|
|
|||||||
|
|
| ||||||
 |
This is set as a Quick Summon |
| |
|---|---|
| Turn 1 |
|
So who should I put in the missing spot and which setup is best?

I want to try create my own setups!
To help create your own setups, below are some curated lists of classes and characters that are useful for normal attack burst teams!
Class Options (Non-Exhaustive)
| Class | Notable Features | Notes |
|---|---|---|
Manadiver |
|
|
Nekomancer |
|
|
Sumaibito |
|
|
Lancer Origin |
|
|


Character Options (Non-Exhaustive)
| Criteria | Examples |
|---|---|
|
|
|
|
|
|
|
|
|
|
|
|
|
|
|
|
|
|
|
  +2% boost to Water allies' ATKMultiplier: Unique per turn passed (Max: 20% at 10 turns). +4% boost to Water allies' DEF per turn passed (Max: 40% at 10 turns). At level 95: +3% boost to Water allies' ATKMultiplier: Unique per turn passed (Max: 30% at 10 turns). +5% boost to Water allies' DEF per turn passed (Max: 50% at 10 turns). +1000 Supplemental DMG effect to Water allies per turn passed (Max: 10,000 at 10 turns).   . (Takes effect even when Kolulu is a sub ally.)  . (Takes effect even when Macula Marius is a sub ally.) |




























I need more examples!
More burst setups can be found on the pages below!


Raid Setups
 |
Important - Read Me!
The setups below serve as examples of ways to clear or farm a raid. You should think of them as: "this worked for someone" instead of "this is what you have to do." Not being able to reproduce these setups doesn't mean you can't do the raid! Instead, use them as inspiration to build your own! For more info, including how to play around missing certain pieces, check the Advanced Grids FAQ. |
| Due to page loading issues, this table will link to the respective grid pages instead of loading here. We apologize for the inconvenience and confusion. |





Unite and Fight Setups
April 2026 Unite & Fight
| Due to page loading issues, this table will link to the respective grid pages instead of loading here. We apologize for the inconvenience and confusion. |

Useful Nightmare Characters
Unite and Fight higher Nightmare difficulty raids often have strong special attacks that give the boss several buffs while also inflicting troublesome debuffs. Building a team that can reliably work around these issues is a large part of the Unite and Fight event experience, so included below is a non-exhaustive list of useful characters players can consider.
| Criteria | Examples |
|---|---|
|
|
|
|
|
|
|
|
|
|
|















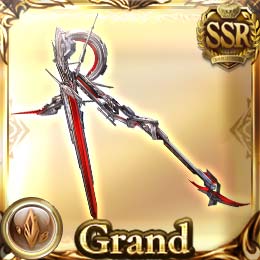
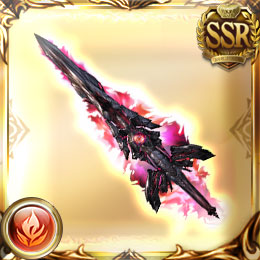






































































































Nightmare Setup History
- January 2025 -

- November 2023 -

Additional Resources
- https://グランブルーファンタジー.gamewith.jp/article/show/47186 - GameWith Omega Water Grid Setups (Japanese)